
Rhino is a powerful 3D modeling software that is widely used in the architecture industry. With its advanced tools and features, Rhino allows architects to create complex and detailed models of buildings and structures. In this post, we’ll share some tips and techniques for creating 3D models with Rhino that are specifically geared towards architects.
- Start with a Clear Plan
- Use Layers to Organize Your Work
- Master the Keyboard Shortcuts
- Use Blocks to Create Repeating Elements
- Use the Array Feature for Efficient Modeling
- Learn to Use Rhino’s Rendering Tools
- Don’t Forget About Accuracy and Precision


Creating 3D Models with Rhino: Tips and Techniques for Architects
Start with a Clear Plan
Before you start modeling in Rhino, it’s important to have a clear plan of what you want to achieve. This includes understanding the project requirements, the scope of work, and the design intent. A clear plan will help you organize your work and ensure that your final model meets the project requirements.
One way to start planning is by creating a rough sketch or diagram of the building or structure you want to model. This can help you visualize the different components and systems that need to be included in your model.
Another important aspect of planning is understanding the scale of your model. Rhino allows you to work in different units, such as feet, meters, or millimeters. Make sure you choose the correct unit for your project and set up your model accordingly.

Use Layers to Organize Your Work
Layers help you group similar elements together and make it easier to manage and edit your model. For example, you could use layers to organize your model by building systems, such as the foundation, walls, roof, and mechanical systems. Alternatively, you could use layers to organize your model by materials, such as concrete, steel, wood, or glass.
To create a new layer, go to the “Layers” panel in Rhino and click on the “New Layer” button. You can then assign a name to the layer and choose a color to help distinguish it from other layers.
It’s important to use consistent naming conventions and layer colors throughout your model to ensure that it’s easy to understand and navigate. You should also make sure to keep your layer structure simple and not create too many layers, as this can make your model harder to manage.

Master the Keyboard Shortcuts
Rhino has a large number of keyboard shortcuts that can save you a lot of time and improve your workflow. Take the time to learn the most common shortcuts and incorporate them into your modeling process. This will make your work faster and more efficient. These are some common shortcuts:
CO = Copy
DU = Duplicate
G = Group
L = Line
H = Hide
UH = Show Hidden
PL = Polyline
PS = PlanarSrf
GU = Toggle Gumball
DI = Distance
MA = Match Properties
CL = Set Layer To Selected Object
EX = Extend
OL = Offset
OS = Offset Surface
ES = Extract Srf
DB = Duplicate Border
DE = Duplicate Edge
TR = Trim
OF = Offset Surface
CB =Curve Boolean
PrintPreview = Toggle Print Preview
You can find a complete list of keyboard shortcuts in Rhino by going to the “Help” menu and selecting “Rhino Help”.
Use Blocks to Create Repeating Elements
If you need to create repeating elements in your model, such as windows or columns, use the block feature in Rhino. Blocks allow you to create a single object that can be repeated throughout the model. This makes it easier to change the object, as you only need to edit the block once.
To create a block in Rhino, select the object you want to turn into a block and go to the “Block” panel. Click on the “Create Block” button and assign a name to the block. You can then insert the block into your model as many times as you need.
One of the advantages of using blocks is that they can reduce the file size of your model. Because Rhino only needs to store one instance of the block, it can reduce the amount of data needed.

Use the Array Feature for Efficient Modeling
Rhino’s array feature allows you to create copies of objects in a linear or radial pattern. This can save you a lot of time when modeling repetitive elements such as roof tiles or bricks.
To use the array feature, select the object you want to duplicate and go to the “Transform” panel. Click on the “Array” button and choose the type of array you want to create. You can then adjust the number of copies, the spacing between the copies, and other parameters to customize the array.
The array feature can also be used to create more complex patterns, such as spirals or grids. By experimenting with different settings and combinations, you can create unique and interesting designs.
Learn to Use Rhino’s Rendering Tools
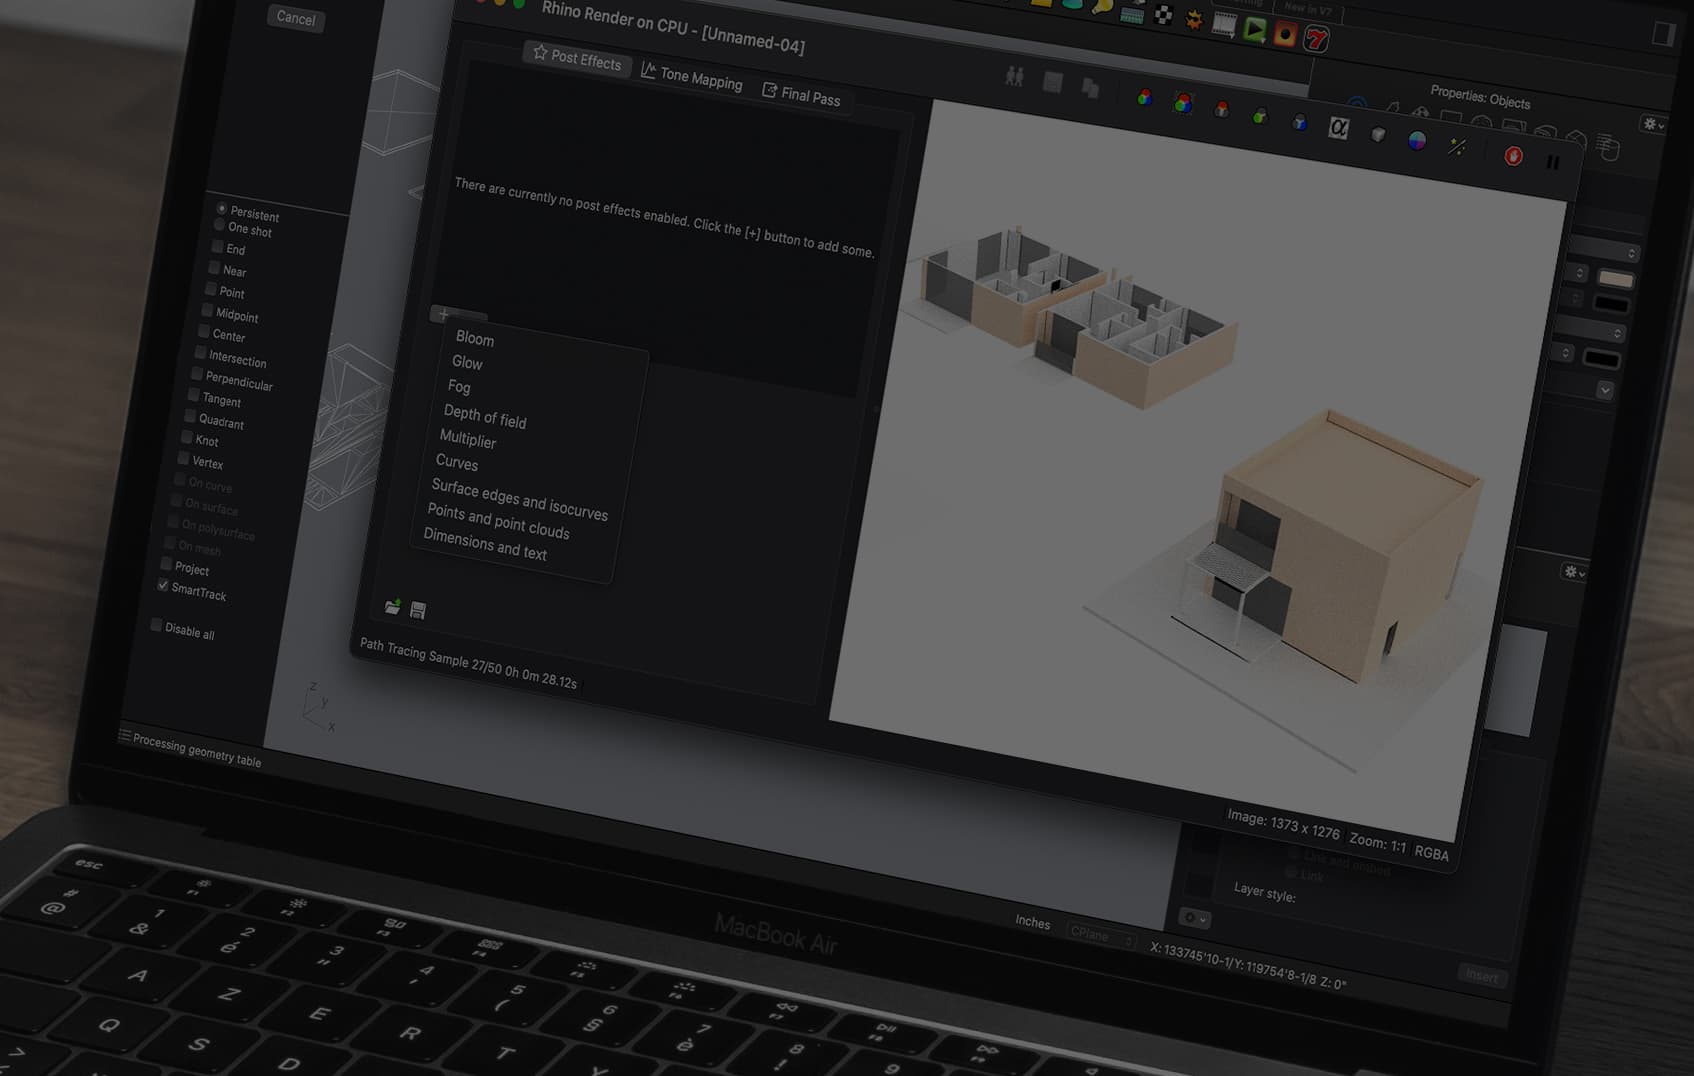
Rhino has a powerful set of rendering tools that can help you visualize your model in a realistic way. Take the time to learn how to use Rhino’s rendering tools to create photorealistic images of your model. This can be a valuable tool in communicating your design to clients and stakeholders.
To access Rhino’s rendering tools, go to the “Render” panel. You can choose from a variety of different rendering engines, such as Rhino Render, V-Ray, or Maxwell Render. Each rendering engine has its own set of features and parameters, so it’s important to experiment with different options to find the one that works best for your project.
When rendering your model, make sure to pay attention to lighting, materials, and textures. These can have a big impact on the final result and can help you create a more convincing and realistic image.

Don’t Forget About Accuracy and Precision
When creating 3D models in Rhino, it’s important to pay attention to accuracy and precision. Ensure that your dimensions are accurate and your geometry is precise. This will help you create a model that is easy to work with and can be used in other applications such as construction documents and fabrication.
One way to ensure accuracy is to use Rhino’s snap tools, which allow you to snap to specific points or elements in your model. You can also use Rhino’s measurement tools to check the dimensions of your model and make sure that they are correct.
Another important aspect of precision is controlling the number of decimal places in your model. Rhino allows you to specify the number of decimal places for dimensions and coordinates, which can help you avoid rounding errors and other issues.
Creating 3D Models with Rhino: Tips and Techniques for Architects
In Conclusion,
Rhino is a powerful tool for creating 3D models in architecture. By following these tips and techniques, you can create detailed and accurate models that meet the requirements of your project. Remember to always start with a clear plan, use layers to organize your work, master the keyboard shortcuts, use blocks and arrays for efficient modeling, learn to use Rhino’s rendering tools, and pay attention to accuracy and precision.
Let me know if you have any questions in Instagram, I would be happy to answer. In the meantime, check out our other posts about art and architecture. If you are interested, you can also look at these AutoCAD, SketchUp, Lumion posts.